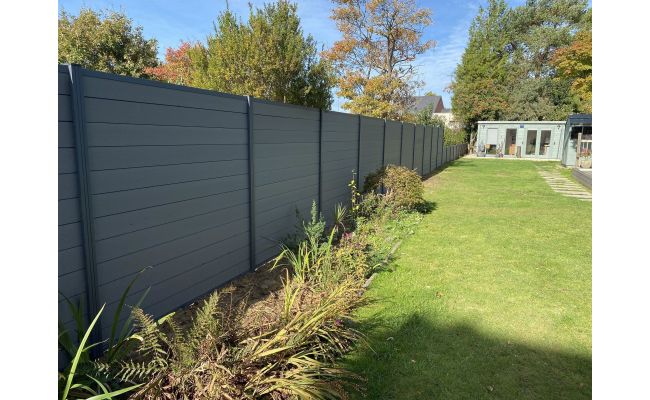
Whether you're enhancing your home's kerb appeal or increasing privacy, a composite fencing system is a modern, eco-friendly choice. Made from recycled wood blended with recycled plastic, composite fencing is known for its durability, low maintenance, and attractive appearance. It stands up to the elements without needing regular painting or staining. If you’re ready to tackle installation yourself, this guide will help you get started.
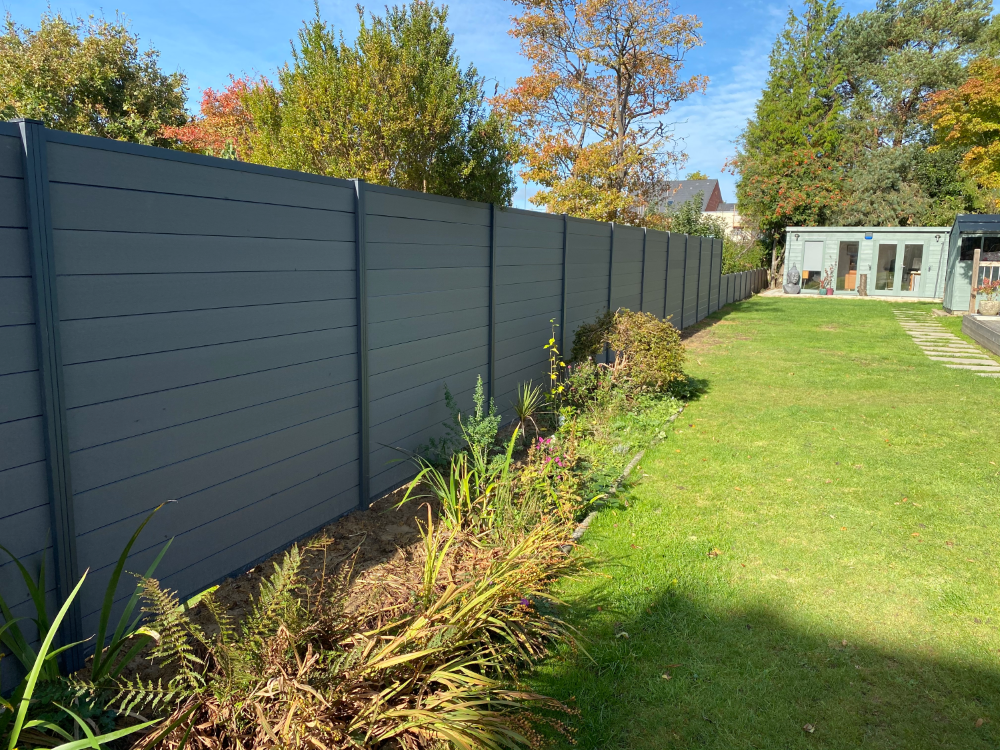
Tips and Advice for Installing Composite Fencing Yourself
Plan and Space Your Posts Evenly
The foundation of a great fence is consistent post spacing. Properly spaced posts ensure each fence panel fits perfectly, eliminating the need for awkward adjustments. Start by measuring the width of your panels, then mark each post's position accurately along the intended fence line.
Dig the Holes
Having determined the placement of your fence posts, use a shovel, or preferably a post-hole digger, to dig holes approximately one-third the height of the posts. For installations on concrete surfaces, secure post bases instead of digging holes.
Composite fencing systems tend to use aluminium posts, but If you happen to be using wooden posts and you’re installing on grass or soil and not using postcrete to secure the posts, consider adding some extra depth to the holes for a gravel base. The gravel improves drainage and extends the lifespan of wooden posts. Whatever material your posts are made from, ensure the holes are uniform in depth to maintain a straight fence line as you proceed.
Securing the Posts
For posts secured with concrete, place each post in its hole and use a spirit level to ensure it is sitting even straight. Pour in the concrete mix according to the packaging instructions, ensuring the post remains upright and stable. Allow the concrete to set for 24 to 48 hours before proceeding. If you’re unable to use concrete or postcrete to secure your fence posts, dig a little deeper, use gravel for drainage and backfill with soil instead, tamping it down firmly as you go to ensure the post is held securely in place.
Slot in the Panels
With the posts firmly in place, it’s time to install the fence panels and fortunately, composite fencing panels are designed to slot in between the posts easily. Start by positioning the first panel between two posts, gently slotting it in place from the top. Many composite systems use a tongue-and-groove design, allowing each panel to interlock with the next with ease. Once the first panel is in, repeat the process for each additional panel until your fence is complete. Take your time to check that each panel slots in smoothly and sits evenly along the length of the fence.
Check Alignment Frequently
One of the final, and often overlooked steps, is to check the alignment of your fence. Use a long spirit level across the top of each panel to ensure everything is even. If you find any panels slightly out of line, gently adjust the posts or panels as needed. Checking alignment throughout the process is crucial, as it’s easier to make adjustments before the concrete fully hardens. This will ensure that your fence not only looks neat and professional but also stands strong against any wind or pressure.
Installing a composite fencing system can seem daunting, but with the right tools and a bit of patience, you can achieve a sturdy, stylish fence that enhances your property for years to come. By carefully following each step—digging the right holes, securing your posts, spacing everything evenly, slotting in the panels, and checking alignment—you'll be able to create a fence that looks like it was professionally installed.
Looking to purchase composite fencing for your home? Browse the selection available from Southern Sheeting.


